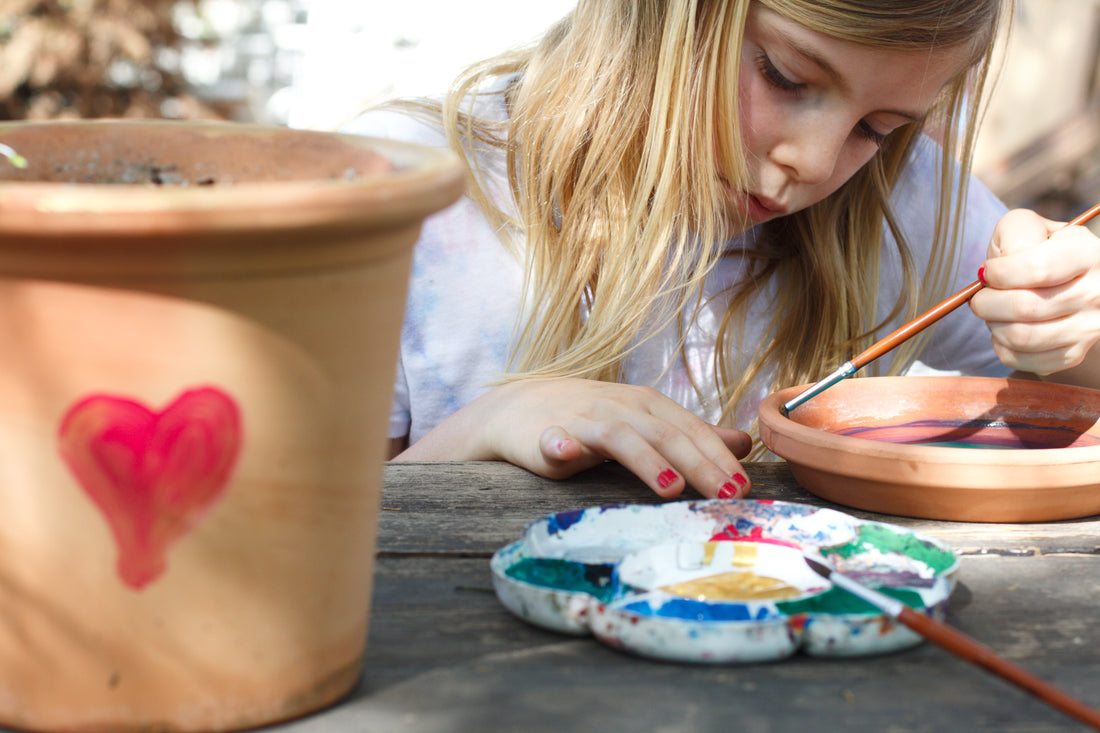
There's something undeniably magical about transforming a blank canvas into a masterpiece that reflects your personal touch. I’m always looking for simple and practical crafts I can do with the kids. This simple DIY craft is affordable, fun and lets everyone express their creativity.
Materials You'll Need
Before we dive into the creative process, let's gather the essentials. Here's what you'll need to get started:
- Terracotta plant pots (choose a size that suits your space and plants)
- Acrylic paints in your favorite colors
- Paintbrushes of various sizes
- Painter's tape (for creating clean lines if desired)
- Palette or disposable plates for mixing paint
- Water and paper towels for cleaning brushes
- Clear varnish (optional, for sealing and protecting your design)
- Pencil (for sketching out your design)
Step-by-Step Guide
- Prepare Your Workspace: Set up a designated crafting area with ample lighting and ventilation. Lay down some newspaper or a protective cover to keep your workspace tidy.
- Choose Your Design: Whether you enjoy vibrant florals, geometric patterns, or whimsical doodles, let your imagination run wild! You can sketch your design directly onto the pot using a pencil or dive right in with paint.
- Base Coat: Start by applying a base coat to the pot. This will help your design colors pop and provide a smooth canvas for your artwork. Let the base coat dry completely before moving on to the next step.
- Let Creativity Blossom: Time to let your creativity flourish! Use your paintbrushes to apply your chosen colors, adding details, patterns, or imagery as you go along. Feel free to experiment with different brush strokes, layering techniques, and color combinations.
- Clean Lines: If you're aiming for clean lines or distinct sections in your design, painter's tape can be your best friend. Apply the tape where you want to create boundaries between colors or patterns. Paint over it, let it dry, and then carefully peel it away for crisp lines.
- Finishing Touches: Once your masterpiece is complete and dry, you can apply a clear varnish to protect your artwork and give it a polished finish. This step is especially important if your pots will be exposed to the elements.
- Plant and Display: Once your hand-painted terracotta pots are ready, it's time to bring them to life with your favorite plants! Whether you choose vibrant flowers, lush succulents, or fresh herbs, these custom pots will add a unique and stylish touch to any space.
This DIY craft allows you to express your artistic flair and adds a personal touch to your home décor. With a splash of color and a dash of creativity, you've transformed ordinary terracotta pots into extraordinary pieces of functional art. So, go ahead – grab the family and channel your inner artist, gather your materials, and embark on a crafting adventure that promises to bring beauty, nature, and inspiration to your living space. Happy crafting!
